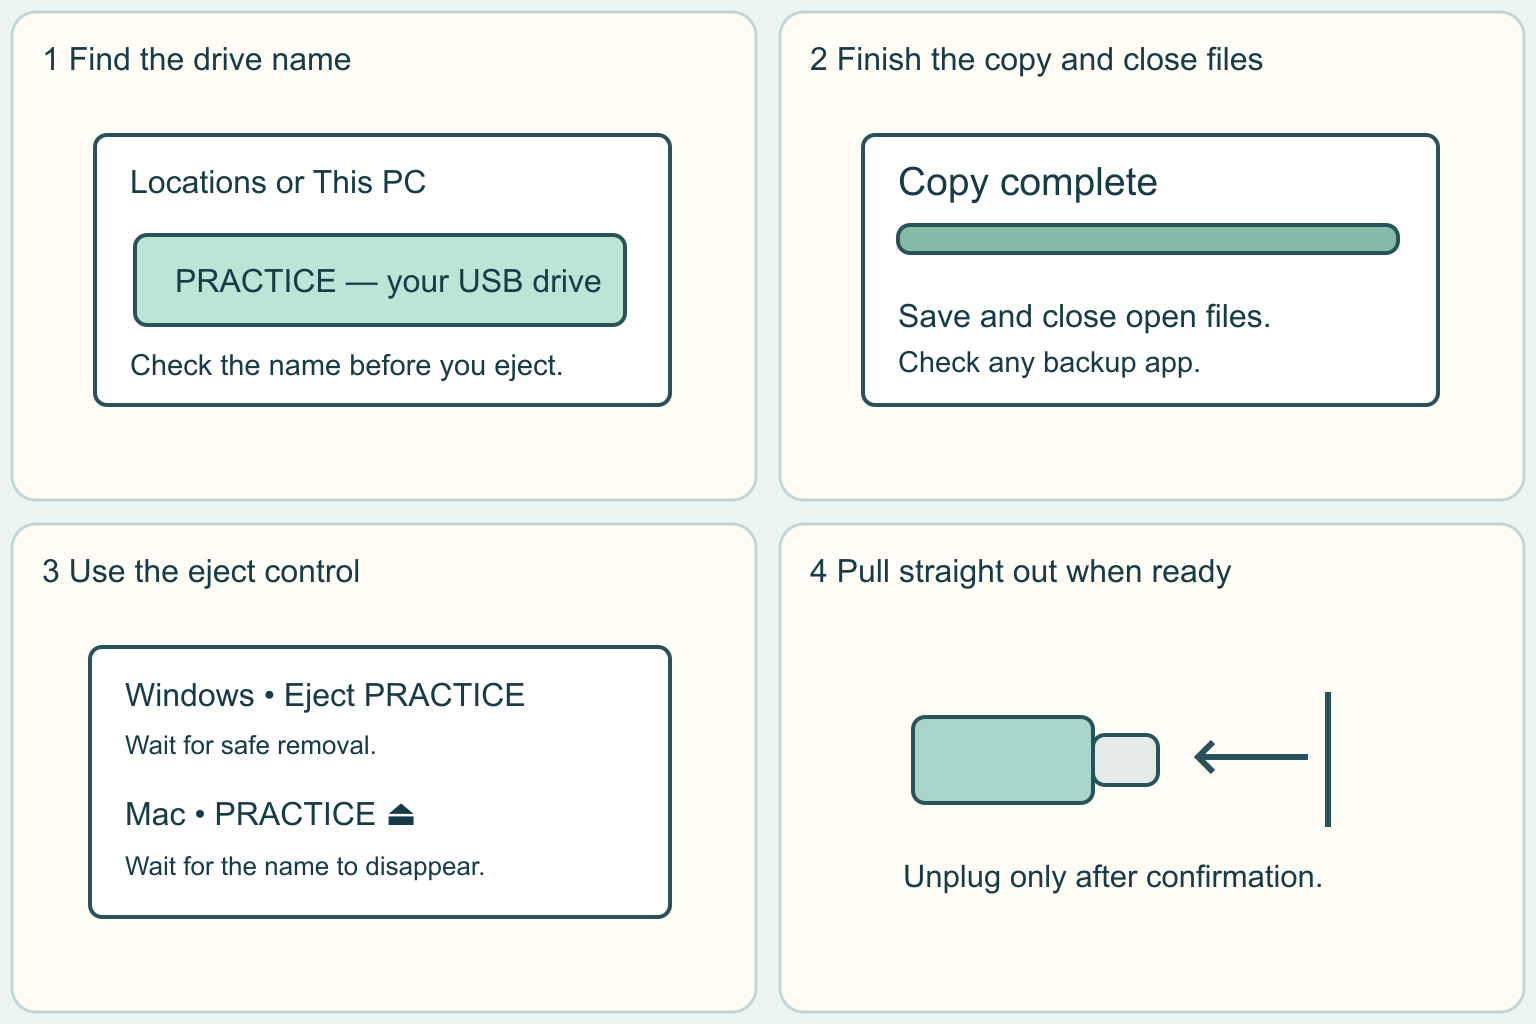
Finish using your files, eject the correct drive and wait before unplugging.
Why it matters: Ejecting lets the computer finish working with the drive and helps protect your files.
Written guidance reviewed: 2026-11-10 · Sources and equipment assumptions are below.
Take this guide to another device
Steps, notes, supplies, setup choices, results and check dates save on this browser as you work. Plus can also keep an account copy. Account copies update only when you choose Save; loading one replaces the browser draft shown here.
Review all saved work. Saved account check dates appear in My Day. Clear the date and save again to finish a follow-up. Email settings stay separate; existing opted-in agenda or deadline emails can include these dated actions.
Understand the job before starting
Ejecting lets the computer finish working with the drive and helps protect your files.
A common mistake to avoid
If the drive still shows as busy after you close your files, a different app or user may be using it. Keep the drive connected and ask the support desk or device owner.
Words used in this guide
Backup
A recoverable copy of data made for loss or damage. Read the example
Use what you already have. Check each item when it is ready.
Before you begin
Keep private file names out of shared worksheets. Use a drive you own and recognize. If the computer asks to erase or format the drive, stop and ask for help.
0 of 4 steps checked0%
Guide progress and notes save on this browser; choose Save account copy above to carry them to another device with Plus. Downloads contain the complete blank checklist; print to include your current checks and notes.
Do it with me
Your step position saves on this browser. Use the picture when available, then check the written result.
STEP 1 OF 4
Identify your drive
Start here: Find the name of your own USB drive.
Illustration: Identify your drive. Read the steps for your exact task.
Read-aloud is available in supported browsers; the written steps always remain available.
A USB flash drive is a small device that stores files.
In Windows, open File Explorer and look under This PC.
On a Mac, open Finder and look under Locations.
Note the drive name before doing anything else.
If you see several drives and cannot tell which is yours, ask the computer owner or support desk to help you identify it.
Before moving to the next step
Check this specific result: I know the name of the drive I plan to unplug.
If that result is not true yet, leave the box unchecked. Write what is missing in your notes; use the official instructions below when the equipment or situation differs.
STEP 1 OF 4
Identify your drive
Start here: Find the name of your own USB drive.
Illustration: Identify your drive. Read the steps for your exact task.
A USB flash drive is a small device that stores files.
In Windows, open File Explorer and look under This PC.
On a Mac, open Finder and look under Locations.
Note the drive name before doing anything else.
If you see several drives and cannot tell which is yours, ask the computer owner or support desk to help you identify it.
Before moving to the next step
Check this specific result: I know the name of the drive I plan to unplug.
If that result is not true yet, leave the box unchecked. Write what is missing in your notes; use the official instructions below when the equipment or situation differs.
STEP 2 OF 4
Finish using the files
Start here: Wait for copies to finish and close files from the drive.
Illustration: Finish using the files. Read the steps for your exact task.
If a progress window shows files copying, wait for it to finish.
Save any changes you want to keep and close the files you opened from the drive.
Check any backup or file transfer app that may still be using it.
Eject means telling the computer to finish using the drive so you can disconnect it.
Before moving to the next step
Check this specific result: My copies have finished and I closed the files I opened.
If that result is not true yet, leave the box unchecked. Write what is missing in your notes; use the official instructions below when the equipment or situation differs.
STEP 3 OF 4
Eject the named drive
Start here: Use the eject control for your drive.
Illustration: Eject the named drive. Read the steps for your exact task.
In Windows, look near the clock for Safely Remove Hardware and Eject Media.
Look under the hidden icons arrow if needed.
Open the menu, choose Eject for your drive and wait for Safe To Remove Hardware.
On a Mac, use the eject button beside the drive in Finder and wait for its name to disappear.
If a message says the drive is in use, save and close the app using it, then try again.
Before moving to the next step
Check this specific result: The computer showed the expected sign that my drive was ejected.
If that result is not true yet, leave the box unchecked. Write what is missing in your notes; use the official instructions below when the equipment or situation differs.
STEP 4 OF 4
Unplug and store the drive
Start here: Remove the drive after the computer confirms it is ready.
Illustration: Unplug and store the drive. Read the steps for your exact task.
Hold the flash drive by its body and pull it straight out gently.
Put it somewhere you can find it later.
If the drive is stuck, ask for help instead of forcing it.
If you still see an eject error, leave it connected and ask for help.
Write down the exact message if you need to explain it to the support desk.
Before moving to the next step
Check this specific result: I unplugged after confirmation, or left it connected and asked for help.
If that result is not true yet, leave the box unchecked. Write what is missing in your notes; use the official instructions below when the equipment or situation differs.
Pictures for this guide
Picture 1 of 4 · Identify your drive
A computer window highlights the fictional drive named PRACTICE.
For: Identify your drive
Illustrations show examples of the actions above. Follow your equipment’s instructions.
Notes about these pictures
A USB flash drive is a small device that stores files. In Windows, open File Explorer and look under This PC. On a Mac, open Finder and look under Locations. Note the drive name before doing anything else. If you see several drives and cannot tell which is yours, ask the computer owner or support desk to help you identify it.
Keep private file names out of shared worksheets. Use a drive you own and recognize. If the computer asks to erase or format the drive, stop and ask for help.
Was this step clear?
Flag “Identify your drive” for review. We save the guide and step identifiers with your account to limit duplicates, not your private notes.
A specific companion has not been selected for this new guide yet. You can search for related demonstrations; search results have not been reviewed by Life’s Checklists.
These YouTube videos belong to their respective creators. Life’s Checklists does not own them and is not affiliated with the creators. Links open on YouTube, where the videos are available independently of our membership.
How to use the video with this guide
Read “Before you begin” first. Watch the relevant part, pause, then return to the written step and its completion check. Use captions and playback speed if they help. A demonstration may cover only part of the task or show different equipment.
Your model’s instructions and current official guidance take priority. For urgent problems, follow the stop instructions without waiting to watch a video.
Finish the job and know what to do next.
For this guide, the final result is: I unplugged after confirmation, or left it connected and asked for help.
A concrete way to approach this task
In this fictional example, Jo finishes copying a practice file to the drive named PRACTICE. Jo closes the file, ejects PRACTICE and waits for confirmation before unplugging.
What if I cannot complete a step?
If the drive still shows as busy after you close your files, a different app or user may be using it. Keep the drive connected and ask the support desk or device owner.
Identify the exact step: “Identify your drive.” Record what you tried, what happened, and which item or model you used. Ask for help with that specific problem rather than repeating an unsafe or unsuccessful action.
Keep private file names out of shared worksheets. Use a drive you own and recognize. If the computer asks to erase or format the drive, stop and ask for help.
Connect this skill to everyday life
Choose one important account and verify its recovery options through the genuine service. Organize where your recovery information is stored securely.
A familiar logo or display name does not verify a sender. Account recovery codes and normal passwords have different purposes.
A useful record for this task: Record the result of “Unplug and store the drive”: I unplugged after confirmation, or left it connected and asked for help.
When finished, record the result and any next check or follow-up date. Your original step checks and notes remain on this browser.
Keep the result of your work
Finish and check every step before recording completion. You can write a draft below now.
Result: Not recorded · Next check: Not chosen
Choose a date from your own manual or situation. No email is enabled by saving this record.